Installing PVC wall panels is an efficient way to upgrade interior walls without traditional plastering, painting, or tile installation. Whether we are renovating a bathroom, improving a kitchen, or decorating a living room, PVC wall panels offer a lightweight, low-maintenance, and visually attractive wall-covering solution.
With the right preparation, tools, and installation techniques, we can achieve a professional finish while reducing renovation time and labor costs.
In this comprehensive guide, we explain how to install PVC wall panels step by step, including surface preparation, cutting, adhesive application, panel fitting, waterproof sealing, and maintenance.
What Are PVC Wall Panels?
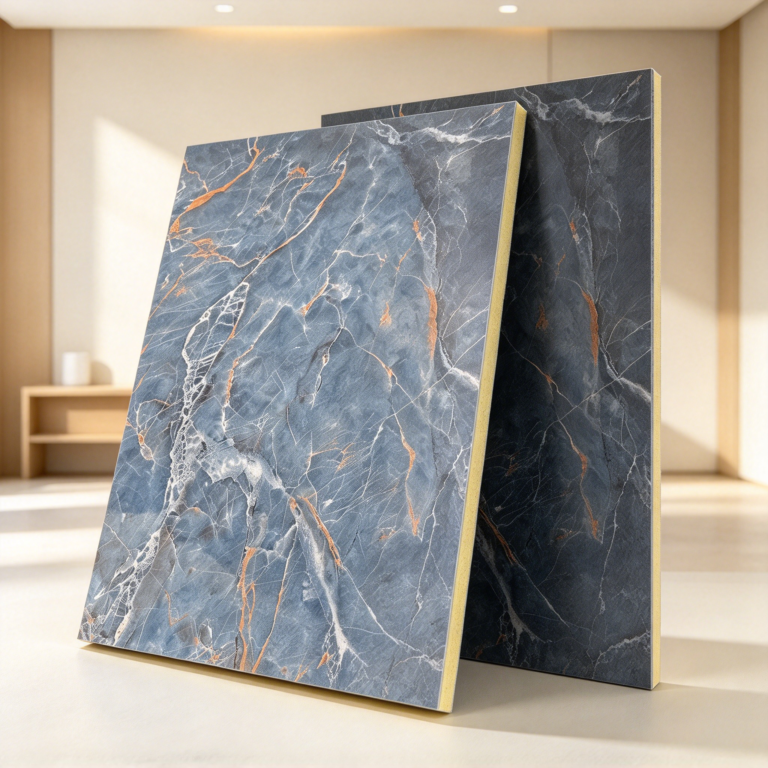
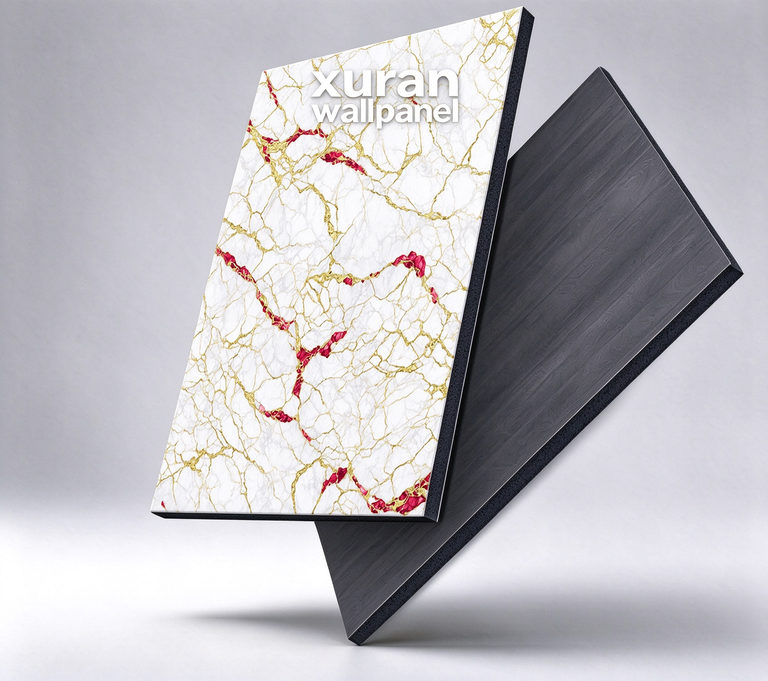
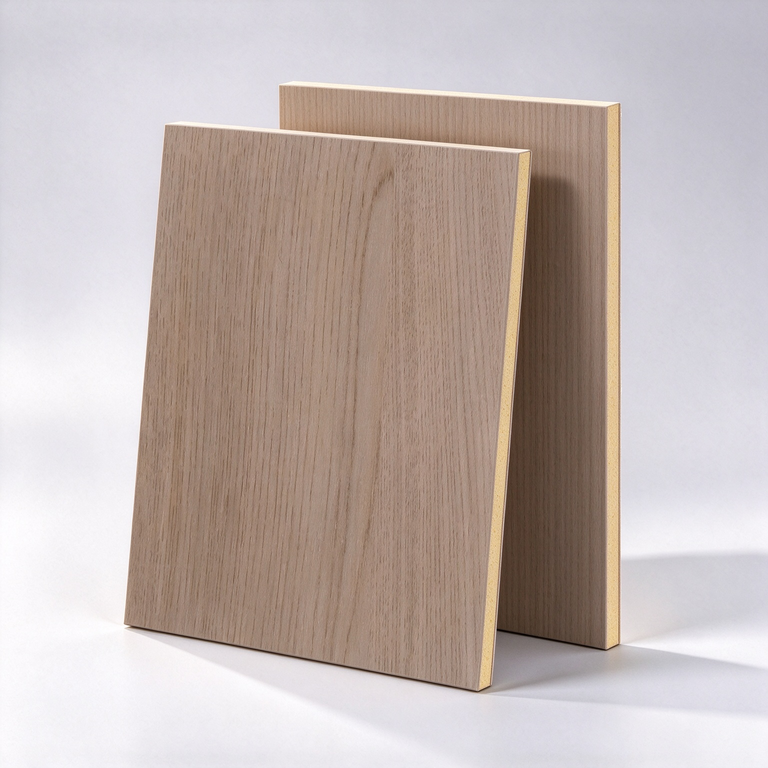
PVC (polyvinyl chloride) wall panels are decorative interior wall coverings manufactured from synthetic polymer materials. They are available in various colors, textures, thicknesses, and surface finishes, including wood grain, marble effects, stone patterns, and modern solid colors.
Unlike conventional ceramic tiles, many PVC wall panels can be installed without cement mortar or grout. Depending on the panel design, we can attach them using specialized adhesives, screws, clips, or tongue-and-groove connection systems.
Common applications of PVC wall panels include:
- Bathrooms: Water-resistant wall coverings and suitable shower wall systems.
- Kitchens: Decorative backsplashes and easy-to-clean wall surfaces.
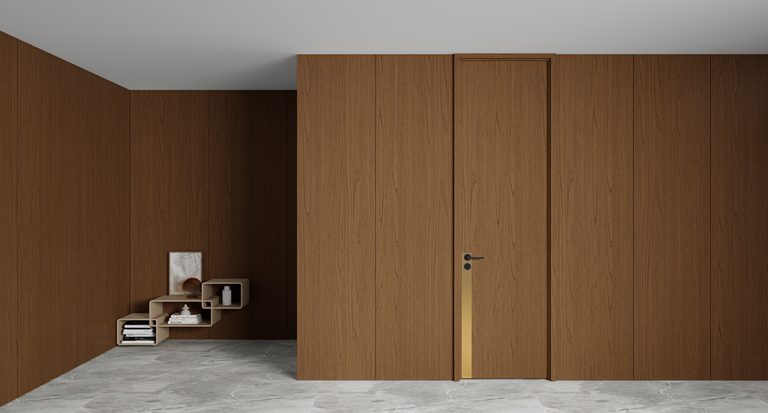
- Living rooms: Feature walls and contemporary interior decoration.
- Bedrooms: Decorative wall finishes and headboard backgrounds.
- Commercial interiors: Offices, retail stores, restaurants, and hospitality spaces.
- Utility rooms: Low-maintenance wall cladding in suitable indoor environments.
Although PVC itself resists water, not every PVC wall panel system is approved for direct shower exposure. For wet areas, we must choose a suitable product and follow the specified waterproofing and sealing requirements.
Tools and Materials Needed to Install PVC Wall Panels
Before starting the installation process, we should prepare the necessary equipment to ensure accurate measurements, secure attachment, and clean finishing.
| Tools and Materials | Purpose |
|---|---|
| Measuring tape | Measure wall dimensions and panel sizes |
| Spirit level or laser level | Ensure panels are installed straight |
| Pencil and straightedge | Mark cutting and positioning lines |
| Fine-tooth saw or utility knife | Cut suitable PVC panels to size |
| Jigsaw | Create openings around fixtures and pipes |
| PVC-compatible panel adhesive | Secure panels to approved surfaces |
| Caulking gun | Apply adhesive and silicone sealant |
| Neutral-cure silicone sealant | Seal appropriate joints and wet-area connections |
| PVC corner and edge trims | Finish exposed edges and corners |
| Spacers | Maintain required expansion gaps |
| Clean cloth and mild detergent | Prepare surfaces and remove residue |
| Safety glasses and protective gloves | Improve safety during installation |
We should always check the manufacturer’s instructions because different PVC panel systems may require specific adhesives, fixing methods, or cutting equipment.
How to Install PVC Wall Panels: Step-by-Step Instructions

Installing PVC wall panels involves several important stages. We recommend following the sequence below to achieve a secure, aligned, and durable result.
Step 1: Measure the Wall and Calculate the Number of Panels
Accurate measurement is essential before purchasing or cutting PVC wall panels.
First, we measure the wall’s height and width using a measuring tape. We then calculate the total surface area by multiplying these two measurements.
Wall Area = Wall Height × Wall Width
For example, if a wall measures 3 meters wide and 2.5 meters high:
3 × 2.5 = 7.5 m²
We can calculate the estimated number of panels by dividing the wall area by the usable coverage area of each panel. We must account for overlap, joints, and the manufacturer’s stated effective coverage width.
For more accurate planning, we should measure each wall separately, identify doors and windows, and consider the direction of installation.
We recommend allowing approximately 10% additional material for cutting waste and fitting adjustments. Rooms with several corners, openings, or complicated patterns may require more.
Step 2: Prepare the Wall Surface
Proper wall preparation is one of the most important requirements for successful PVC panel installation.
Before attaching the panels, we must ensure that the existing surface is structurally sound, clean, dry, and suitable for the selected installation method.
We should:
- Remove loose paint, damaged wallpaper, dirt, and grease.
- Repair cracks or damaged wall sections where necessary.
- Check the surface for excessive unevenness.
- Address moisture problems, leaks, or mold before covering the wall.
- Remove obstacles that prevent proper panel fitting.
- Allow repaired or cleaned surfaces to dry completely.
For adhesive installation, a stable and relatively flat substrate helps the panels remain securely attached.
Some PVC panels can be installed over existing ceramic tiles, plasterboard, or painted walls. However, the original surface must be firmly attached, and the adhesive must be suitable for both the panel and substrate.
Important: We should never cover active leaks or persistent dampness with PVC panels. These problems must be resolved before installation.
Step 3: Acclimatize the PVC Wall Panels
PVC expands and contracts as temperatures change.
Before installation, we should store the panels indoors, flat, and away from direct sunlight or excessive heat.
Where specified by the manufacturer, we should allow the panels to acclimatize in the installation room for approximately 24 hours.
This helps reduce the risk of unwanted movement after installation.
During this stage, we should also inspect the panels for scratches, damage, color variations, or manufacturing defects.
Step 4: Plan the Panel Layout
Before applying adhesive, we recommend arranging the panels in their intended installation order.
A dry layout allows us to determine:
- Where the first and last panels will be positioned.
- Whether the panels require cutting.
- How decorative patterns will align.
- Where corner trims and joining profiles will be installed.
- Whether narrow strips can be avoided at the wall edges.
We should use a spirit level to mark a straight reference line.
For vertical tongue-and-groove wall panels, we commonly begin at an inside corner and work across the wall. For decorative sheet panels, we may position the layout around the center of a feature wall to maintain a balanced appearance.
Step 5: Cut the PVC Panels to the Correct Size
Once the measurements are confirmed, we can cut the panels to the required dimensions.
How to cut PVC wall panels:
- Place the panel on a stable working surface.
- Measure the required height or width.
- Mark the cutting line using a pencil and straightedge.
- Select the appropriate cutting tool for the panel’s thickness and construction.
- Cut slowly and carefully along the marked line.
- Remove rough edges where necessary.
- Test-fit the panel before applying adhesive.
Thin PVC panels designed for score-and-snap installation may be cut using a utility knife. Thicker or rigid panels generally require a fine-tooth saw or another manufacturer-approved cutting tool.
For electrical outlets, pipe penetrations, and plumbing fixtures, a jigsaw or suitable hole saw may be necessary.
We should switch off the relevant electrical circuit before working near electrical fittings and use a qualified professional when wiring or plumbing modifications are required.
Installation tip: We should never cut panels to an extremely tight fit. The manufacturer’s recommended expansion clearances must be maintained.
Step 6: Install the Starting Trims and Corner Profiles
Trims and profiles create a neat transition between PVC wall panels and surrounding surfaces.
Common finishing accessories include:
- Internal corner trims: Connect panels at inside corners.
- External corner trims: Protect and finish outside corners.
- End caps: Cover exposed panel edges.
- H-joint profiles: Connect separate panel sections where required.
- Top and bottom trims: Complete wall-to-ceiling and wall-to-floor transitions.
We begin by measuring and cutting the required trims.
Depending on the installation system, these profiles may be secured using adhesive, suitable mechanical fixings, or a combination of both.
For shower installations, we must follow the specified sealing procedure for each trim channel and connection.
Step 7: Apply Adhesive to the Back of the PVC Wall Panel
For adhesive-mounted PVC panels, choosing the correct adhesive is critical.
We recommend using a PVC-compatible wall panel adhesive approved for the panel material and the existing wall substrate.
Using an unsuitable adhesive may result in poor bonding, panel movement, or surface damage.
Adhesive application process:
- Ensure the back of the panel is clean and dry.
- Prepare the adhesive according to the manufacturer’s directions.
- Apply the specified adhesive pattern to the panel or wall.
- Distribute the adhesive as instructed, ensuring adequate bonding coverage.
- Position the panel before the adhesive begins to set.
- Press the panel firmly and evenly against the surface.
Some systems require continuous adhesive beads, while others use dots, vertical lines, or full-spread adhesive.
We should follow the adhesive manufacturer’s instructions rather than assuming one pattern works for every PVC panel.
Large-format sheets may require temporary supports until the adhesive develops sufficient strength.
Step 8: Attach the First PVC Wall Panel
The first panel establishes the alignment for the remaining installation.
We position it carefully against the starting profile or reference line.
Using a spirit level, we check that the panel is vertically aligned before pressing it into its final position.
We should ensure that:
- The panel sits correctly inside the starting trim.
- The adhesive provides adequate contact with the substrate.
- The required expansion gaps remain in place.
- The visible surface is not scratched or damaged.
- The panel does not move out of position during adhesive curing.
For mechanical tongue-and-groove systems, concealed clips, staples, or screws may be used where permitted by the manufacturer and substrate.
Step 9: Connect and Install the Remaining Panels
After fixing the first panel, we continue across the wall.
For tongue-and-groove PVC wall panels, one panel’s tongue fits into the adjacent panel’s groove, creating a continuous wall surface.
We insert the next panel into the connection carefully, ensuring that the joint is properly engaged.
We should avoid excessive force, as this can damage the edges or distort the panel.
For waterproof shower systems, we apply the manufacturer-approved sealant inside the required joints before connecting the panels.
The installation process continues until we reach the opposite side of the wall.
We should check alignment regularly and clean excess adhesive or sealant before it hardens.
Step 10: Allow Space for PVC Panel Expansion
PVC wall panels naturally expand and contract when temperatures change.
Without sufficient expansion clearance, the panels may buckle, distort, or place stress on the joints.
Some interior PVC shower-panel manufacturers specify an expansion gap of approximately 3 mm around the perimeter, although requirements vary by product and installation conditions.
We should use the exact clearance specified for the selected system.
Expansion gaps are generally concealed by trims or finished with suitable flexible sealant where required.
We must not eliminate necessary movement gaps by forcing panels tightly against walls, ceilings, or adjacent fixtures.
Step 11: Seal Joints, Corners, and Edges
Proper sealing is especially important when installing PVC wall panels in bathrooms, shower enclosures, and other wet environments.
We should use a compatible, water-resistant sealant approved by the panel manufacturer. Many bathroom panel systems specify neutral-cure sanitary silicone.
Areas that may require sealing include:
- Panel joints in wet zones.
- Internal corners.
- Connections around shower trays and bathtubs.
- Plumbing penetrations.
- Edges around bathroom fixtures.
- Specified trim channels.
- Wall-to-floor junctions.
After applying silicone, we can use an appropriate profiling tool to produce a smooth and consistent finish.
We must ensure that the required waterproofing system remains intact behind the panels.
A water-resistant PVC surface does not automatically make the complete wall assembly waterproof. Waterproof performance depends on the selected system, correctly prepared substrate, joint sealing, and appropriate treatment of all penetrations.
Step 12: Clean the Panels and Inspect the Installation
Once all panels and trims are installed, we should inspect the finished wall.
We check for visible gaps, misaligned joints, loose sections, damaged edges, and incomplete seals.
Any adhesive residue should be removed using the cleaning procedure approved for the panel finish.
We should avoid harsh solvents, abrasive pads, or aggressive chemicals that may damage the decorative coating.
Finally, we allow adhesives and sealants to cure fully before exposing the wall to water, cleaning, or normal service.
Some panel systems specify at least 24 hours, while others require longer curing times depending on temperature, humidity, product formulation, and adhesive thickness.
We should always follow the stated curing requirements.
How to Install PVC Wall Panels Over Existing Tiles
Installing PVC wall panels over existing ceramic tiles can reduce demolition work and simplify bathroom renovation.
However, we must first check whether the panel manufacturer permits direct installation over tiles.
We should ensure that the existing tiles are securely attached, clean, dry, and free from loose sections.
The installation process generally involves cleaning the tile surface, correcting unsuitable areas, dry-fitting the PVC panels, and applying an adhesive approved for nonporous surfaces.
Once the panels are fixed, we install the appropriate edge profiles and seal all required wet-area connections.
We should also consider the additional wall thickness, which may affect shower valves, taps, sockets, and other fittings.
If existing tiles are loose, damaged, or affected by moisture, we should repair or remove the defective material before installing PVC panels.
How to Install PVC Wall Panels Without Adhesive
Some PVC wall cladding systems allow installation using concealed screws, clips, or mechanical fixings.
This approach is particularly useful when panels are designed for mounting onto timber battens or suitable framing.
We first install a stable support framework according to the panel manufacturer’s required spacing and fixing arrangement.
Next, we position the first panel and secure it through the designated fixing flange or concealed fixing points.
We then connect the remaining panels using their tongue-and-groove edges.
Mechanical installation should allow the required thermal movement and must not compromise waterproofing in wet areas.
We should never drive screws randomly through decorative panel faces unless the installation system specifically permits visible fixings.
Common Mistakes to Avoid When Installing PVC Wall Panels
Even a straightforward installation can fail when preparation or fitting instructions are overlooked.
| Common Mistake | Potential Problem | Recommended Solution |
|---|---|---|
| Installing over damp walls | Trapped moisture and deterioration | Repair leaks and dry the substrate |
| Using incompatible adhesive | Weak bonding or panel damage | Choose an approved PVC panel adhesive |
| Incorrect measurements | Excessive cutting waste and poor fit | Measure carefully and dry-fit |
| Ignoring expansion gaps | Buckling or distortion | Follow manufacturer clearance requirements |
| Poor joint sealing | Water entering behind panels | Seal approved wet-area joints correctly |
| Installing on an unstable wall | Loose or uneven panels | Repair or reinforce the substrate |
| Using unsuitable cleaning products | Scratches or surface discoloration | Use mild cleaning products |
| Rushing the curing process | Movement or failed seals | Respect adhesive and sealant curing times |
By avoiding these mistakes, we improve the finished appearance and reduce the risk of premature repair or replacement.
How to Maintain PVC Wall Panels After Installation
PVC wall panels are generally easy to maintain compared with many conventional wall finishes.
For routine cleaning, we recommend using a soft cloth or sponge with warm water and a mild household detergent.
We should avoid abrasive cleaning pads, harsh chemical solvents, and tools that could scratch the surface.
In bathrooms, we recommend checking silicone joints periodically, particularly around showers, bathtubs, and plumbing fixtures.
Damaged or deteriorated sealant should be replaced promptly using a compatible product.
We should also avoid exposing standard interior PVC panels to temperatures beyond the manufacturer’s specified limits, particularly near cooking appliances, heaters, or other heat sources.
With appropriate installation and regular maintenance, PVC wall panels can provide an attractive decorative finish for many years.
Frequently Asked Questions About PVC Wall Panel Installation
1. Can We Install PVC Wall Panels Directly on a Wall?
Yes. Many PVC wall panels can be installed directly onto suitable plasterboard, plaster, existing tiles, or other approved surfaces using compatible adhesive. However, the wall must be clean, dry, stable, and sufficiently flat. We should confirm substrate compatibility with the panel manufacturer before installation.
2. Can We Install PVC Wall Panels in a Bathroom?
Yes. We can install PVC wall panels in bathrooms when the product is suitable for that environment. For direct shower exposure, we must use a manufacturer-approved wet-area system with the required waterproofing, compatible sealant, and properly finished joints.
3. Do We Need Adhesive for PVC Wall Panels?
Not always. Installation depends on the panel’s design. Some PVC wall panels require adhesive, while others support mechanical fixing through screws, clips, or specialized mounting systems. Certain installations may combine adhesive and concealed fixings for additional support.
4. Can We Cut PVC Wall Panels With a Utility Knife?
Some thin PVC panels can be scored and snapped using a sharp utility knife. Thicker panels or rigid wall-cladding sheets may require a fine-tooth saw or jigsaw. We should select the cutting method recommended for the product.
5. How Long Does PVC Wall Panel Installation Take?
Installation time depends on the wall dimensions, surface condition, panel format, number of corners, and installer experience. A small, uncomplicated feature wall may be fitted within several hours, while bathrooms and larger projects may require considerably longer. Adhesive and sealant curing time must also be included before the installation is ready for normal use.
6. Can We Install PVC Wall Panels Over Painted Walls?
Yes, provided the paint is firmly attached, the wall is clean and dry, and the adhesive is compatible with the painted surface. Loose or peeling paint must be removed, and preparation requirements for glossy or nonporous finishes must be followed.
7. Are PVC Wall Panels Suitable for DIY Installation?
Many decorative PVC wall panel systems are designed for straightforward installation using common tools. However, projects involving electrical alterations, plumbing modifications, complex waterproofing, or structural repairs may require qualified tradespeople.
Conclusion: Installing PVC Wall Panels Correctly
Learning how to install PVC wall panels allows us to create attractive, practical, and low-maintenance interior wall surfaces.
Successful installation begins with accurate measurements, appropriate surface preparation, and the correct choice of fixing materials. We must also pay attention to panel alignment, expansion allowances, edge finishing, and waterproof sealing where applicable.
By following the manufacturer’s instructions and the step-by-step methods outlined in this guide, we can achieve a clean and professional finish suitable for residential and commercial interiors.
Whether we are upgrading a bathroom, renovating a kitchen, or creating a decorative feature wall, properly installed PVC wall panels provide a versatile alternative to many conventional wall coverings.