
A better finish
starts with the right installation.
Follow this guide for a clear overview of wall preparation, panel positioning, installation and finishing details.
Installation requirements can vary by panel type, substrate and project conditions. Always confirm the appropriate method for the product being installed.
Start the Guide ↓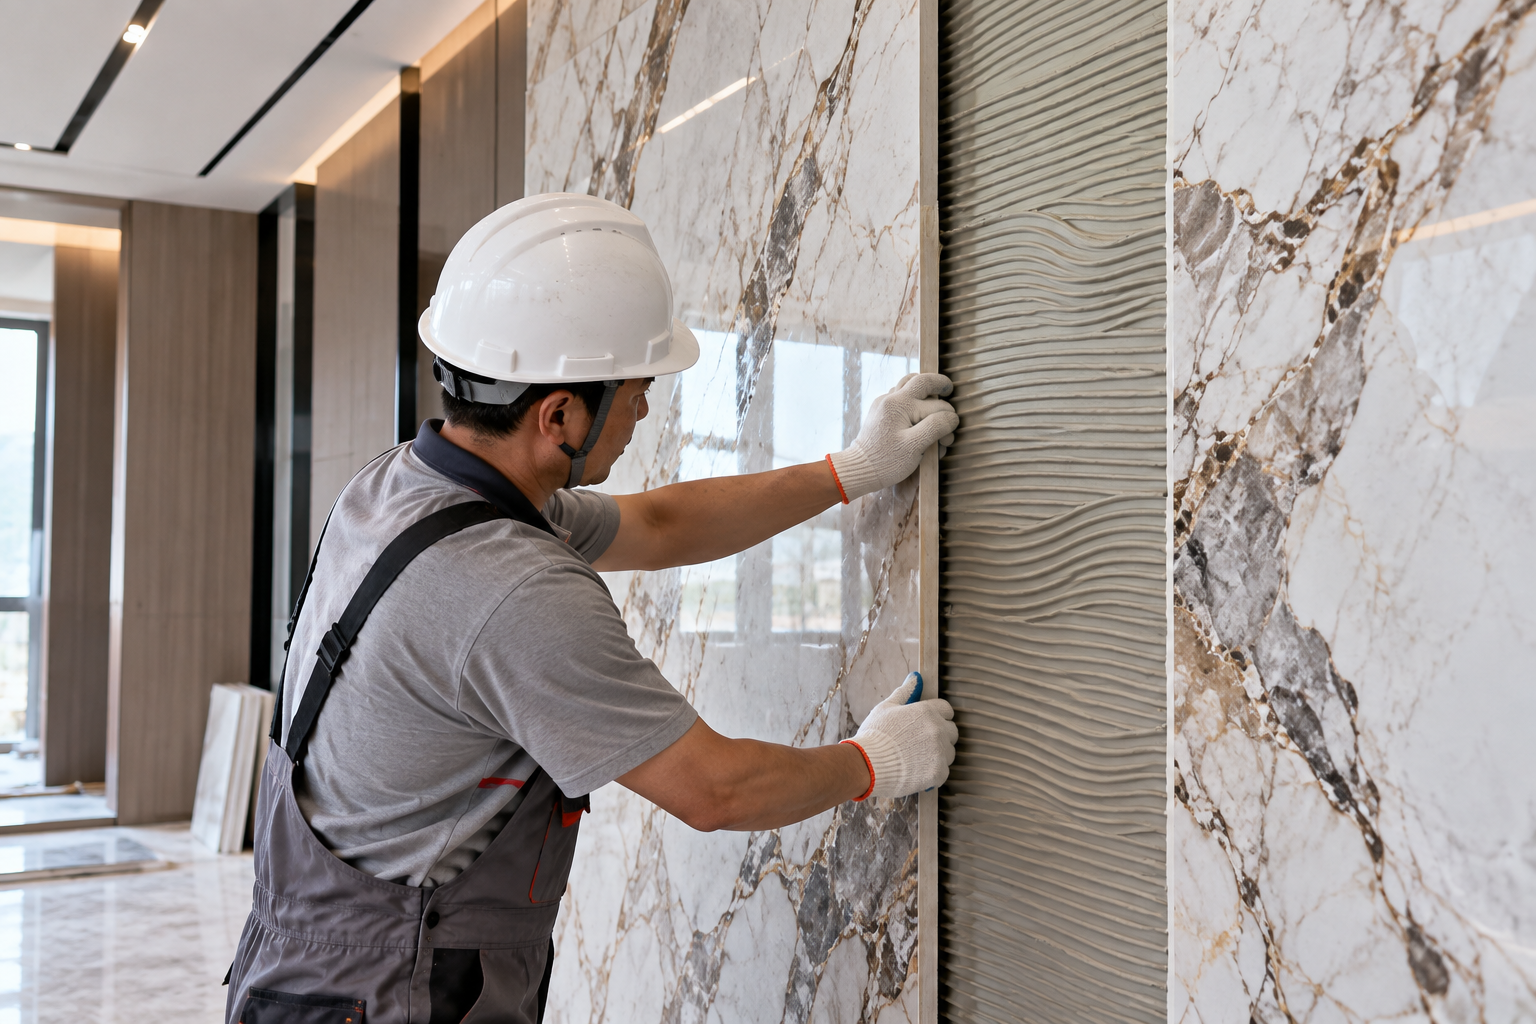
Prepare first.
Install with confidence.
Take time to inspect the panels, review the wall surface and plan the layout before installation begins. Good preparation helps create a cleaner, more consistent finished surface.
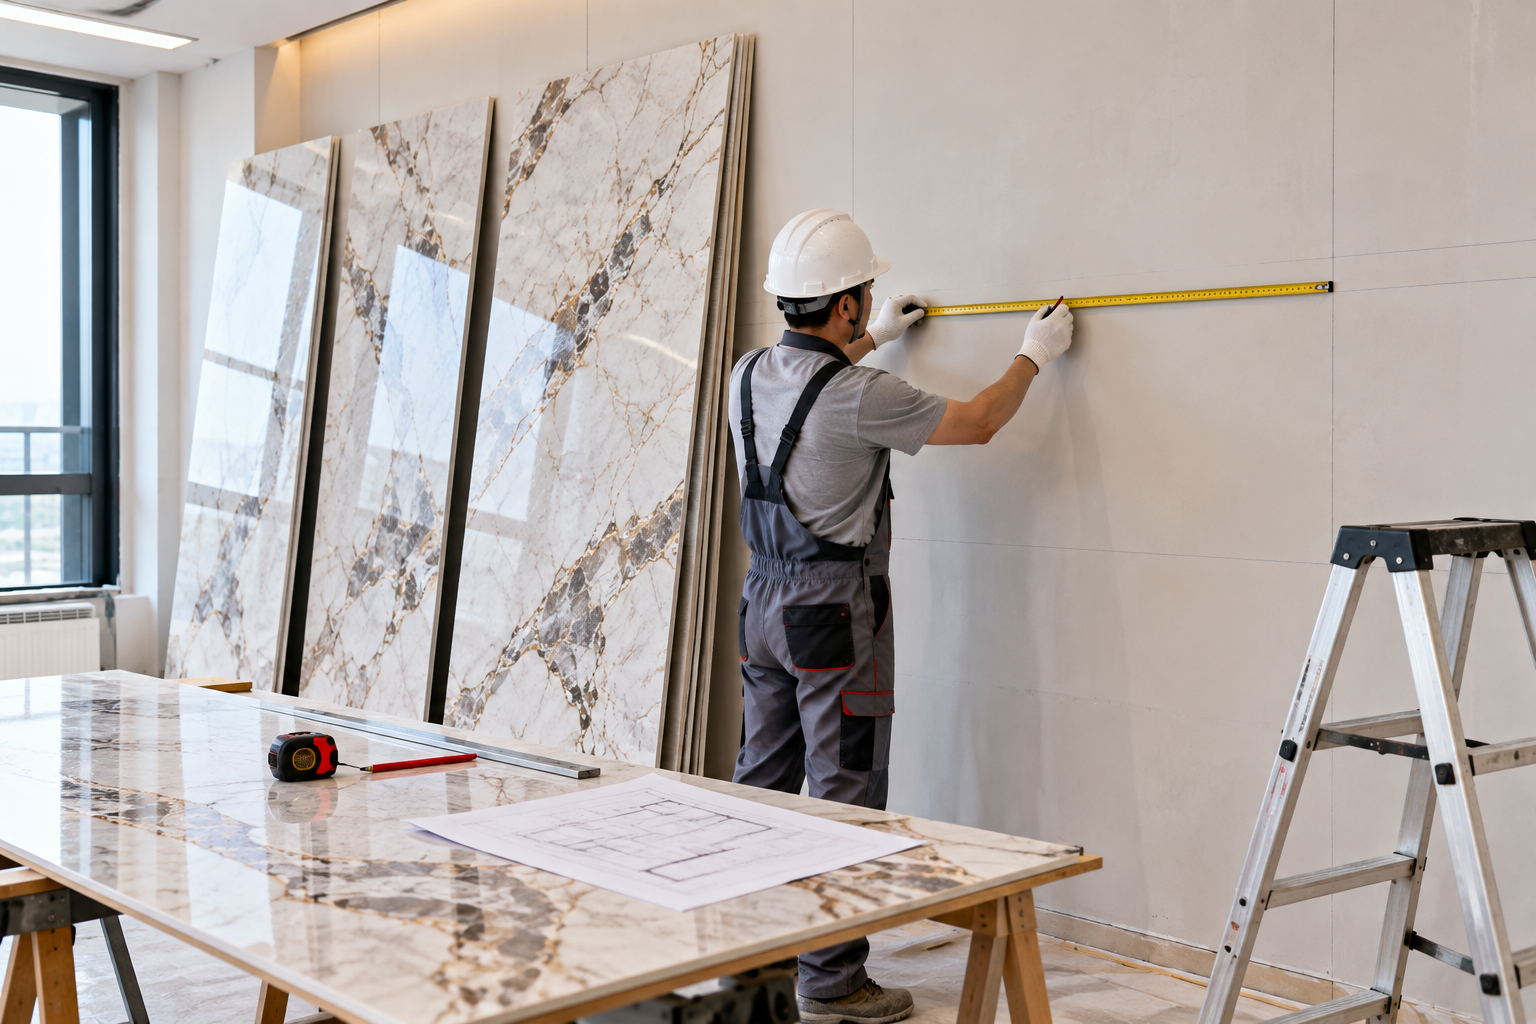
Check the installation area and plan the panel position before beginning.
Check the Panels
Review the panels before installation. Check the visible surfaces and make sure the pieces selected for the installation are suitable for the planned layout.
Check the Wall
Examine the installation surface before fitting the panels. The wall should be suitable for the installation method being used.
Measure the Space
Measure the installation area carefully and identify important edges, corners, openings and other details before positioning the panels.
Plan the Layout
Consider panel direction, joints, pattern placement and finishing details before installation starts.
The appropriate preparation and installation method can vary depending on the wall panel, substrate, installation environment and project requirements. Confirm the method suitable for your specific product before installation.
Ask Xuran ↗
From the first panel
to the finished wall.
Work carefully through each stage of the installation, checking position, alignment and finishing details as the wall develops.
The exact installation method may vary depending on the panel type, wall condition and project requirements.
 01
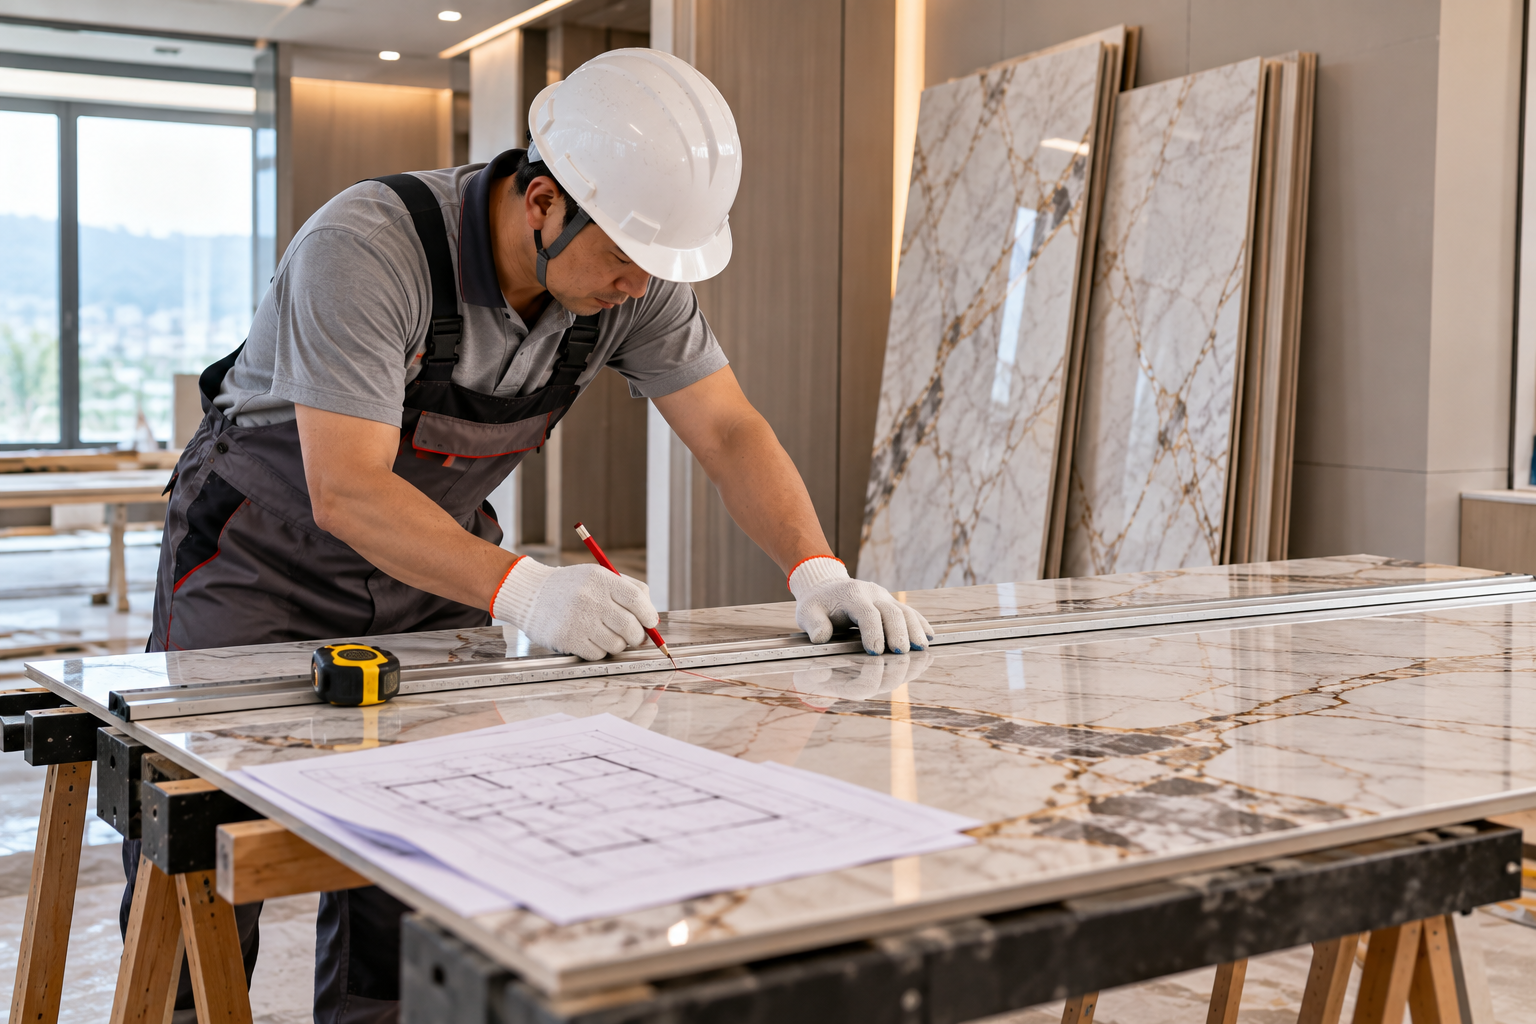
Measure and
mark the panel.
Measure the installation area and transfer the required dimensions to the panel. Consider edges, corners, openings and the planned panel layout before making any cuts.
Check measurements again before cutting.
 02
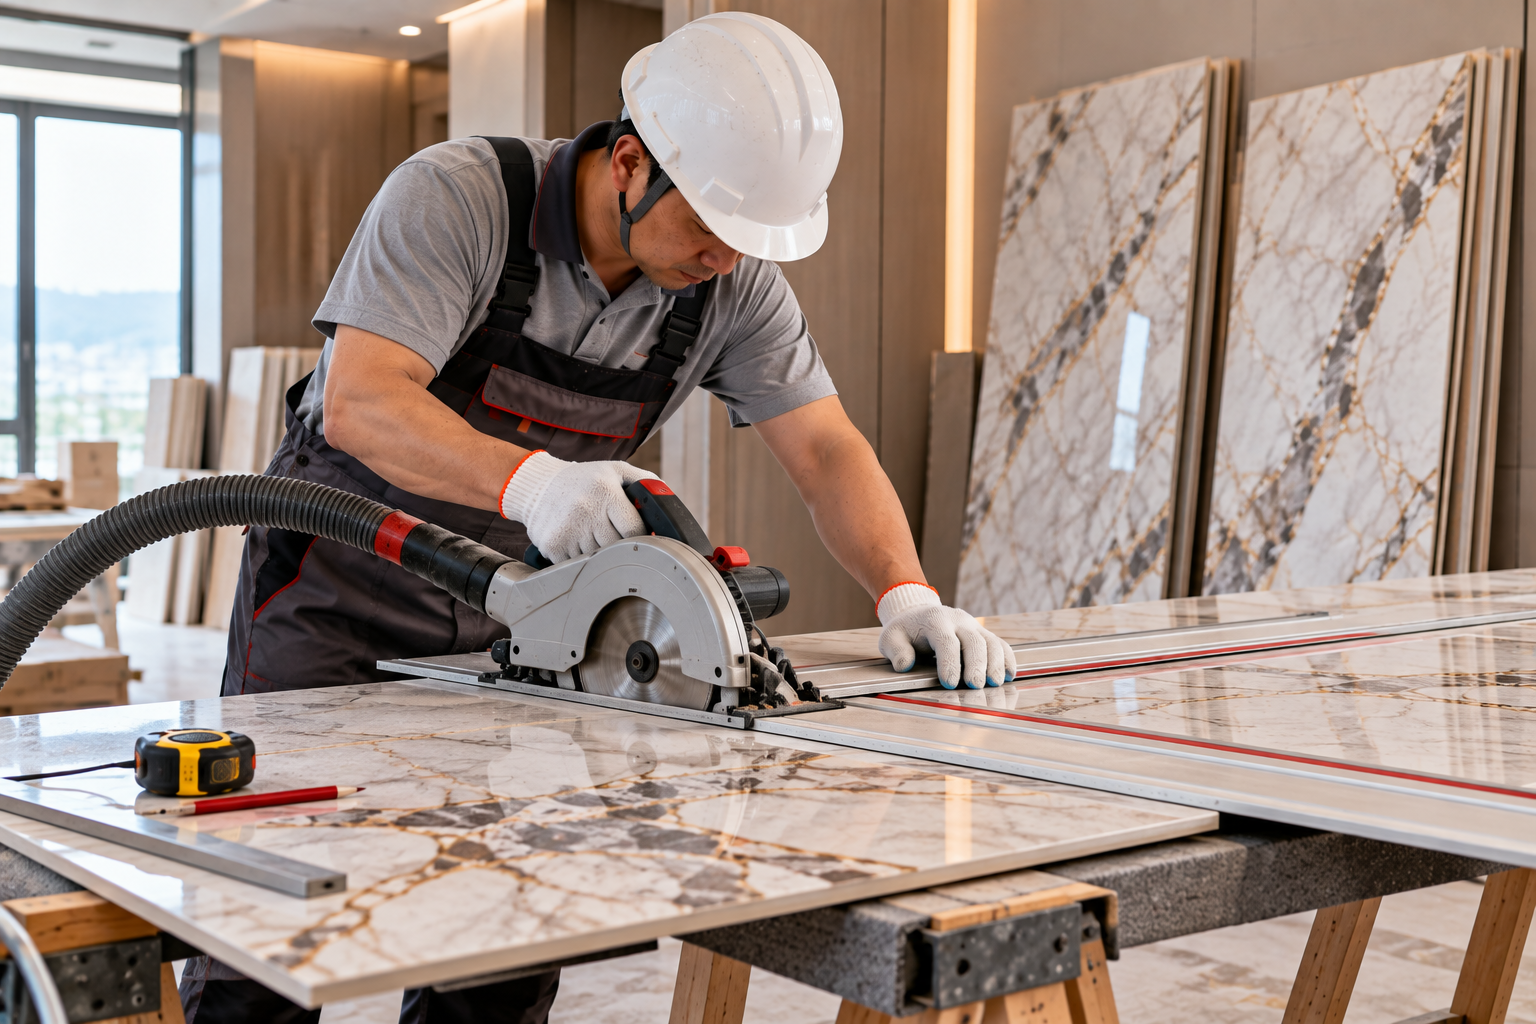
Cut to the
required size.
Cut the panel according to the measured layout using tools appropriate for the panel being installed. Support the panel properly while working and keep visible edges as clean as possible.
Use the cutting method recommended for your panel type.
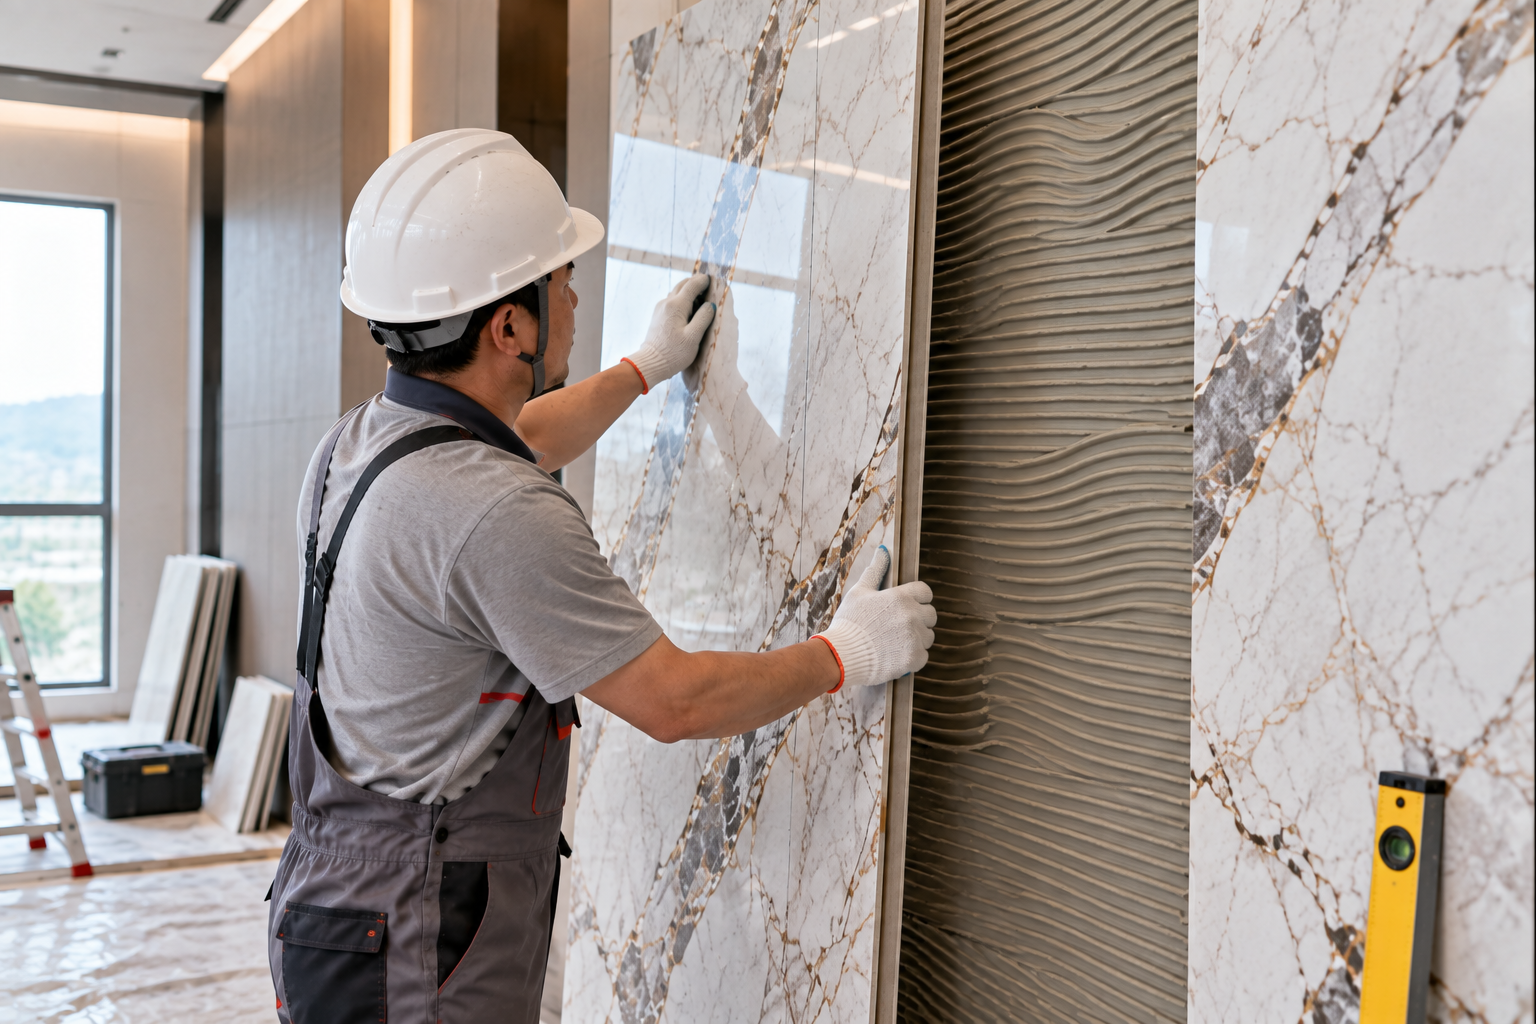 03
Position the
first panel.
Place the panel in its planned position and check its relationship with the starting edge, floor, ceiling and surrounding architectural details.
The first panel helps establish the direction of the wall.
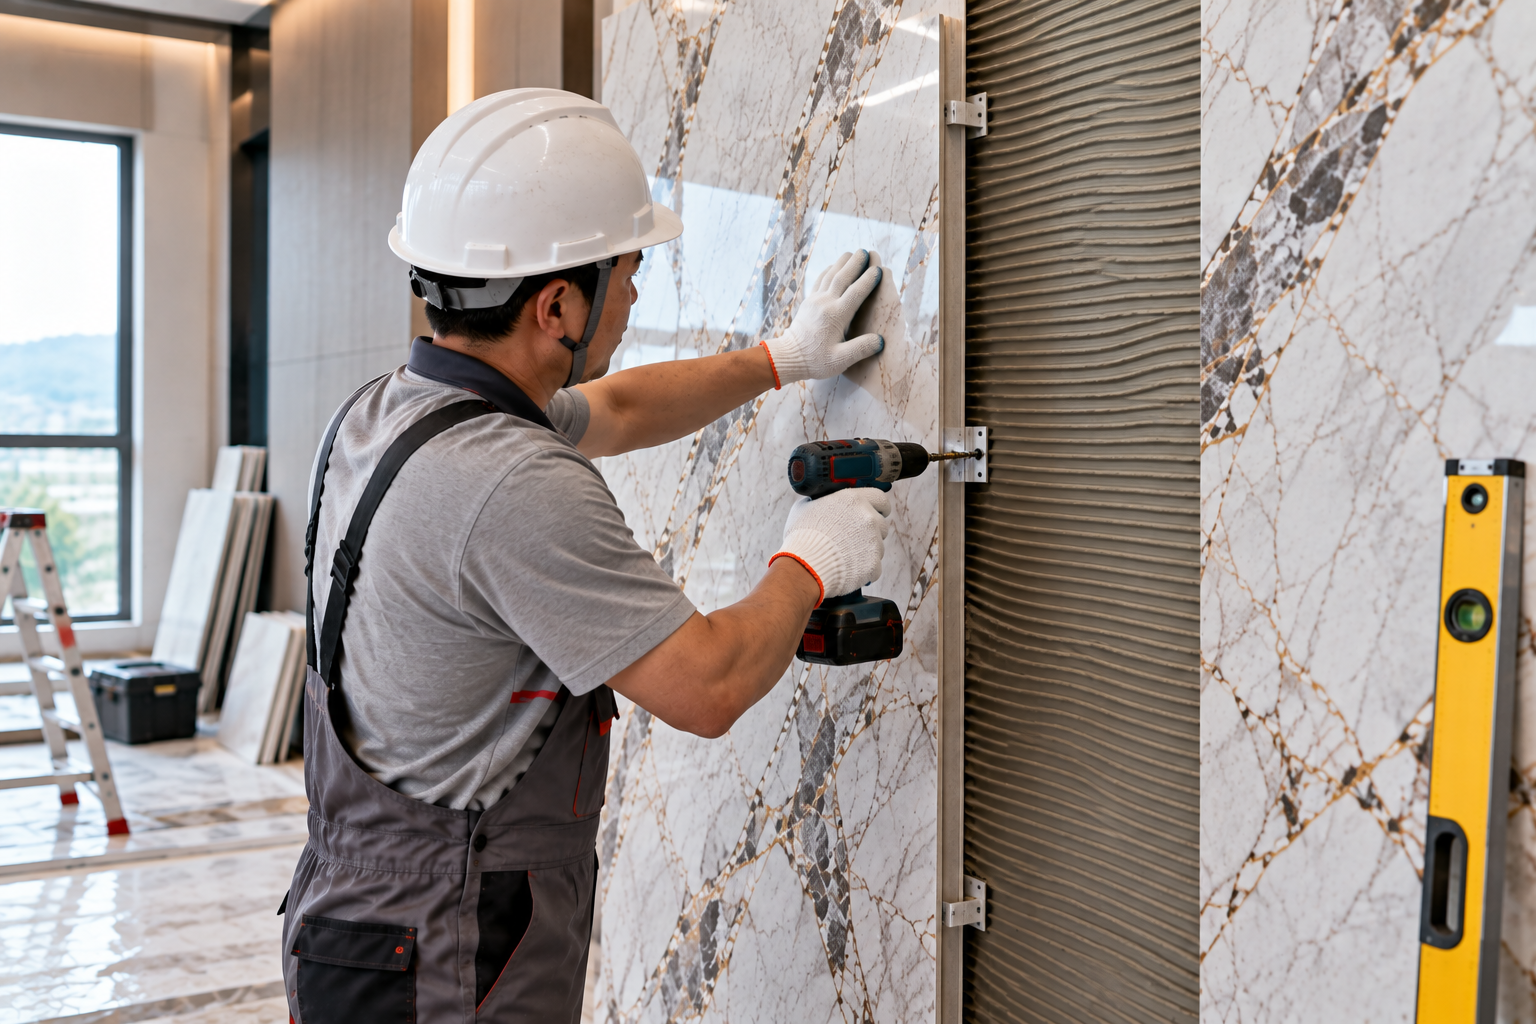 04
Secure the
panel in place.
Install the panel using the method appropriate for the selected product and substrate. Keep the panel correctly positioned while it is being secured.
Follow the installation method specified for the product.
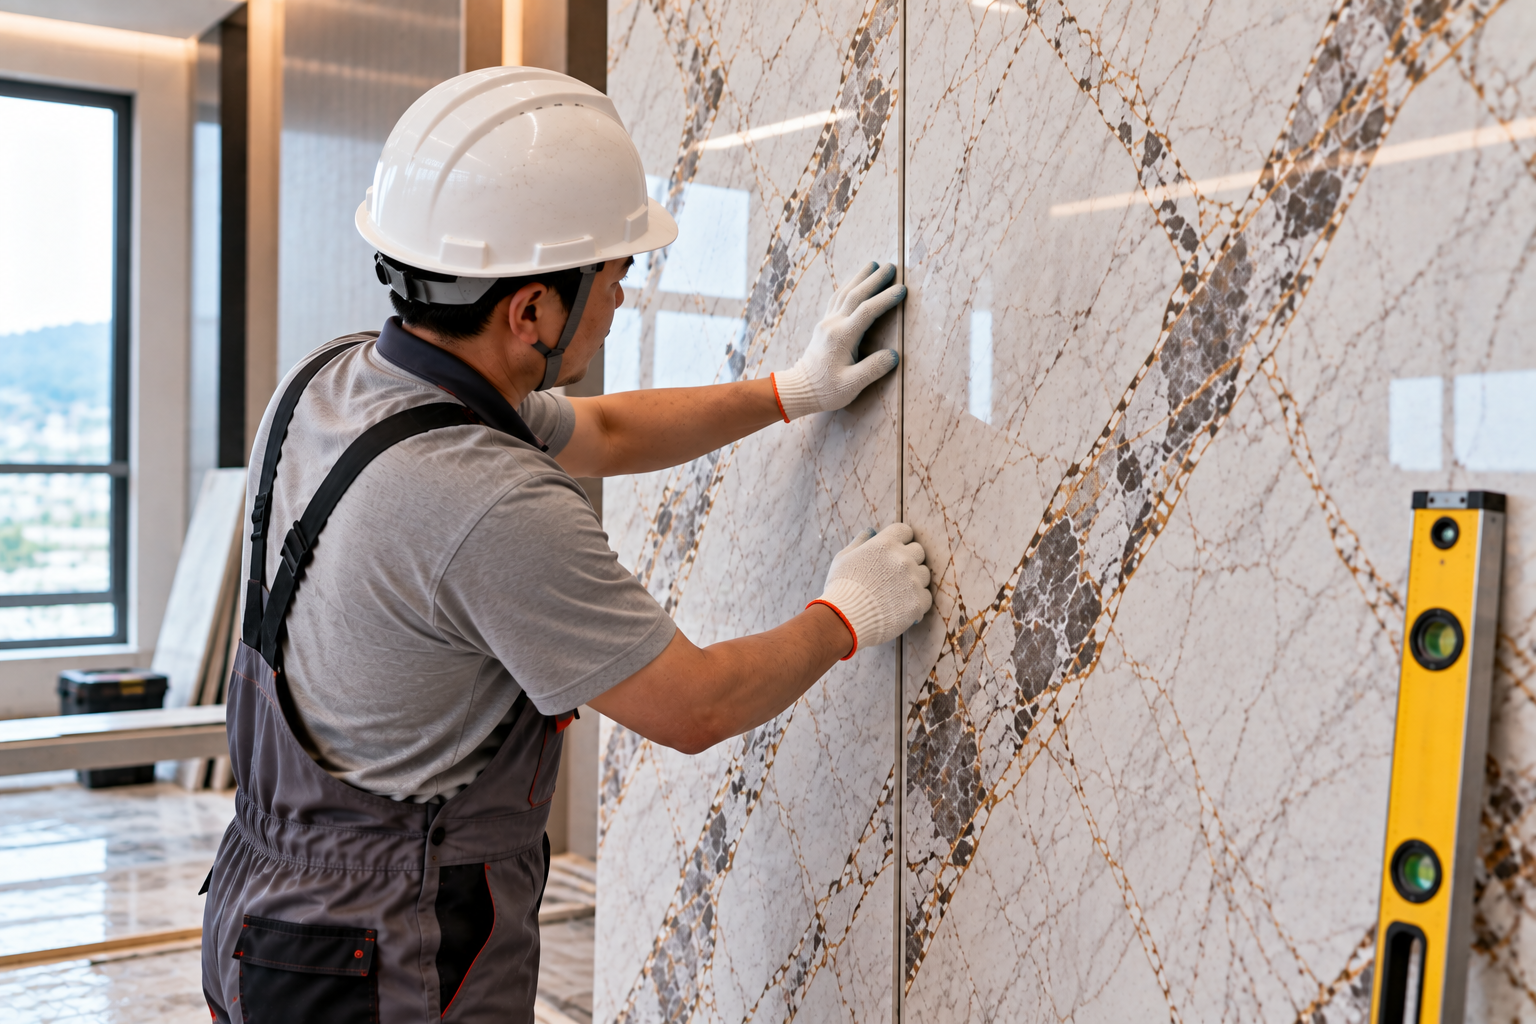 05
Align and install
the next panels.
Continue across the installation area while checking the relationship between adjoining panels. Pay attention to alignment, joints and the visual continuity of the surface.
Check the developing wall regularly as installation continues.
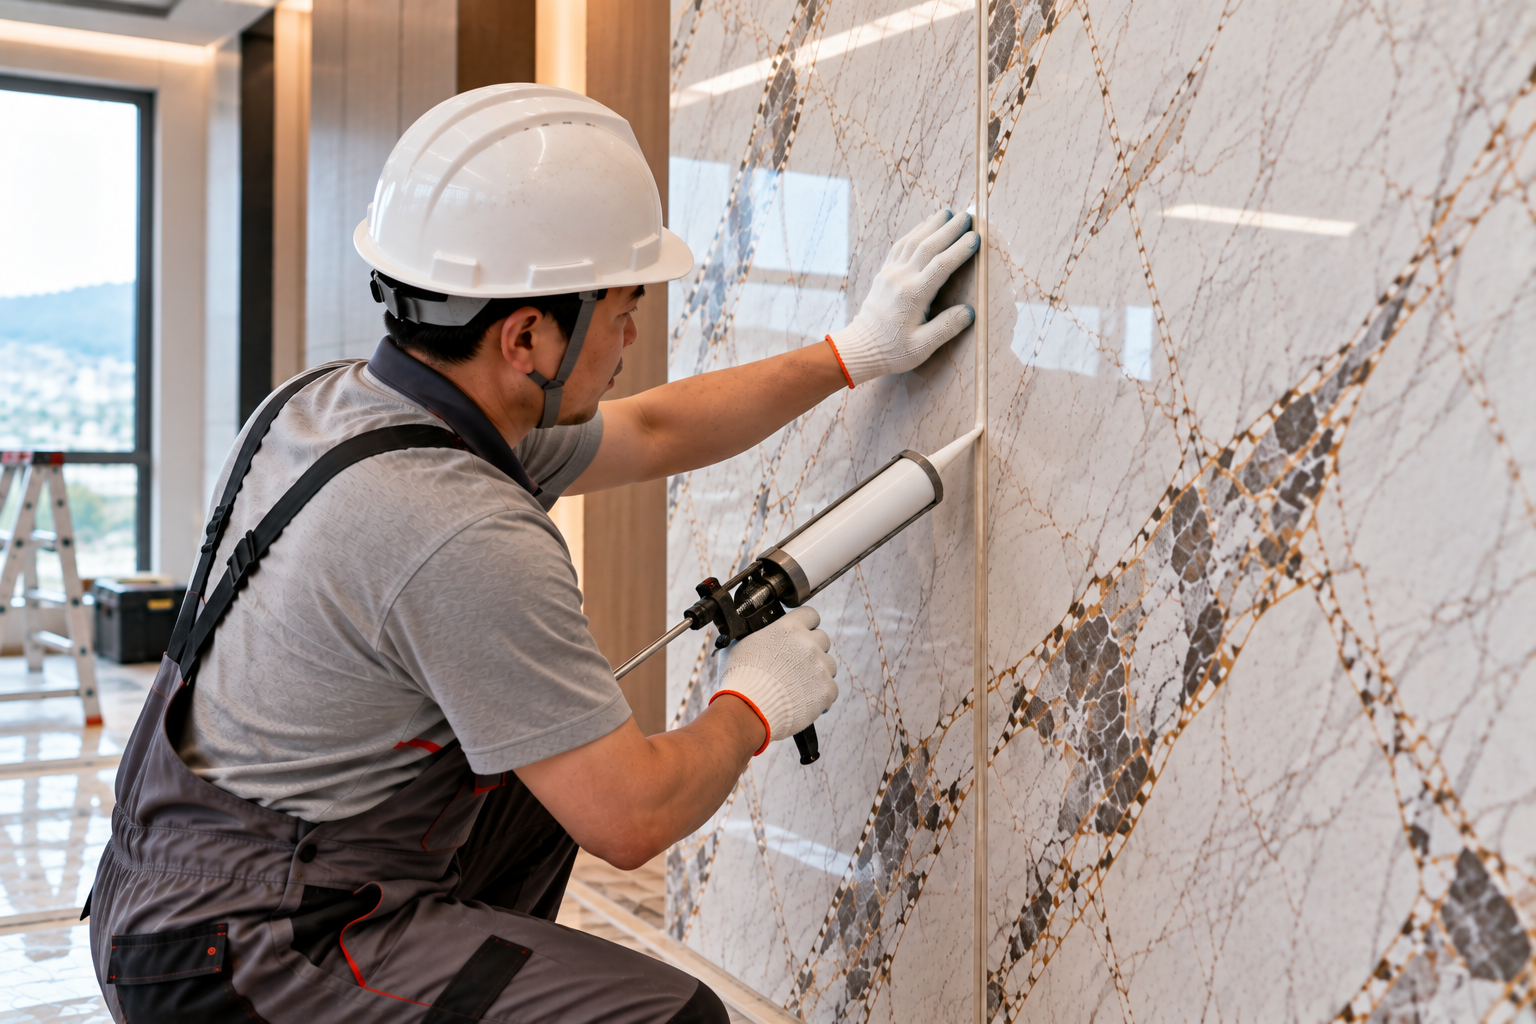 06
Complete the
finishing details.
Complete the visible edges, corners, transitions and other finishing details required by the installation. Inspect the completed surface and clean it appropriately.
Review the complete wall, not only individual panels.
Ready to install?
We’re here to help.
Have questions about wall panel installation, finishing details or your specific project? Talk with Xuran about your requirements before you begin.